

How to setup SeerBit for Zoho Books
Zoho Books is an online accounting software that streamlines and manages your finances, automates business workflows, and enhances collaboration across various departments. With SeerBit Payments Extension for Zoho Books, you can now send invoices and receive instant payments using SeerBit in Nigeria, Ghana, South Africa, Cote D’Ivoire, Tanzania, Uganda, Kenya and Zambia.
Before you begin, ensure that you have an active Zoho Books account, An active SeerBit account and admin access to both platforms.
Integration Setup
Step 1: Install the SeerBit Plugin
- The SeerBit extension is available in the Zoho Books app marketplace. Visit the marketplace via this link.
- Click on the Install button to begin the installation process.
- A dialog box will appear where you need to accept the terms of service, select your Zoho organization, and then click Install.
Step 2: Access SeerBit Plugin Settings
- Navigate to Settings in Zoho Books.
- Select Online Payments from the options available.
- From the list of payment methods, find and select SeerBit Payment Gateway.
- Click on the Edit button to configure the settings.
Step 3: Enter Your API Keys
- In the SeerBit plugin settings, you will need to enter your Secret Key and Public Key.
- These keys can be found in your SeerBit Dashboard. If you haven't generated them yet, log in to your SeerBit account and create your API keys.
- Enter the keys into the respective fields and save your configuration.

Step 4: Switch to Live Keys
- Initially, you might be using test keys for setup and testing purposes.
- Once you are ready to accept real payments, remember to replace your test keys with live keys in the SeerBit plugin settings.

Making Payments
Step 1: Creating and Sending Invoices
- On your Zoho Books dashboard, navigate to Sales > Invoices.
- Create a new invoice or select a draft invoice you wish to send.
- Fill in the customer's and invoice details as required.
- Ensure that SeerBit is selected as a payment option at the bottom of the invoice form.

Step 2: Customer Payment
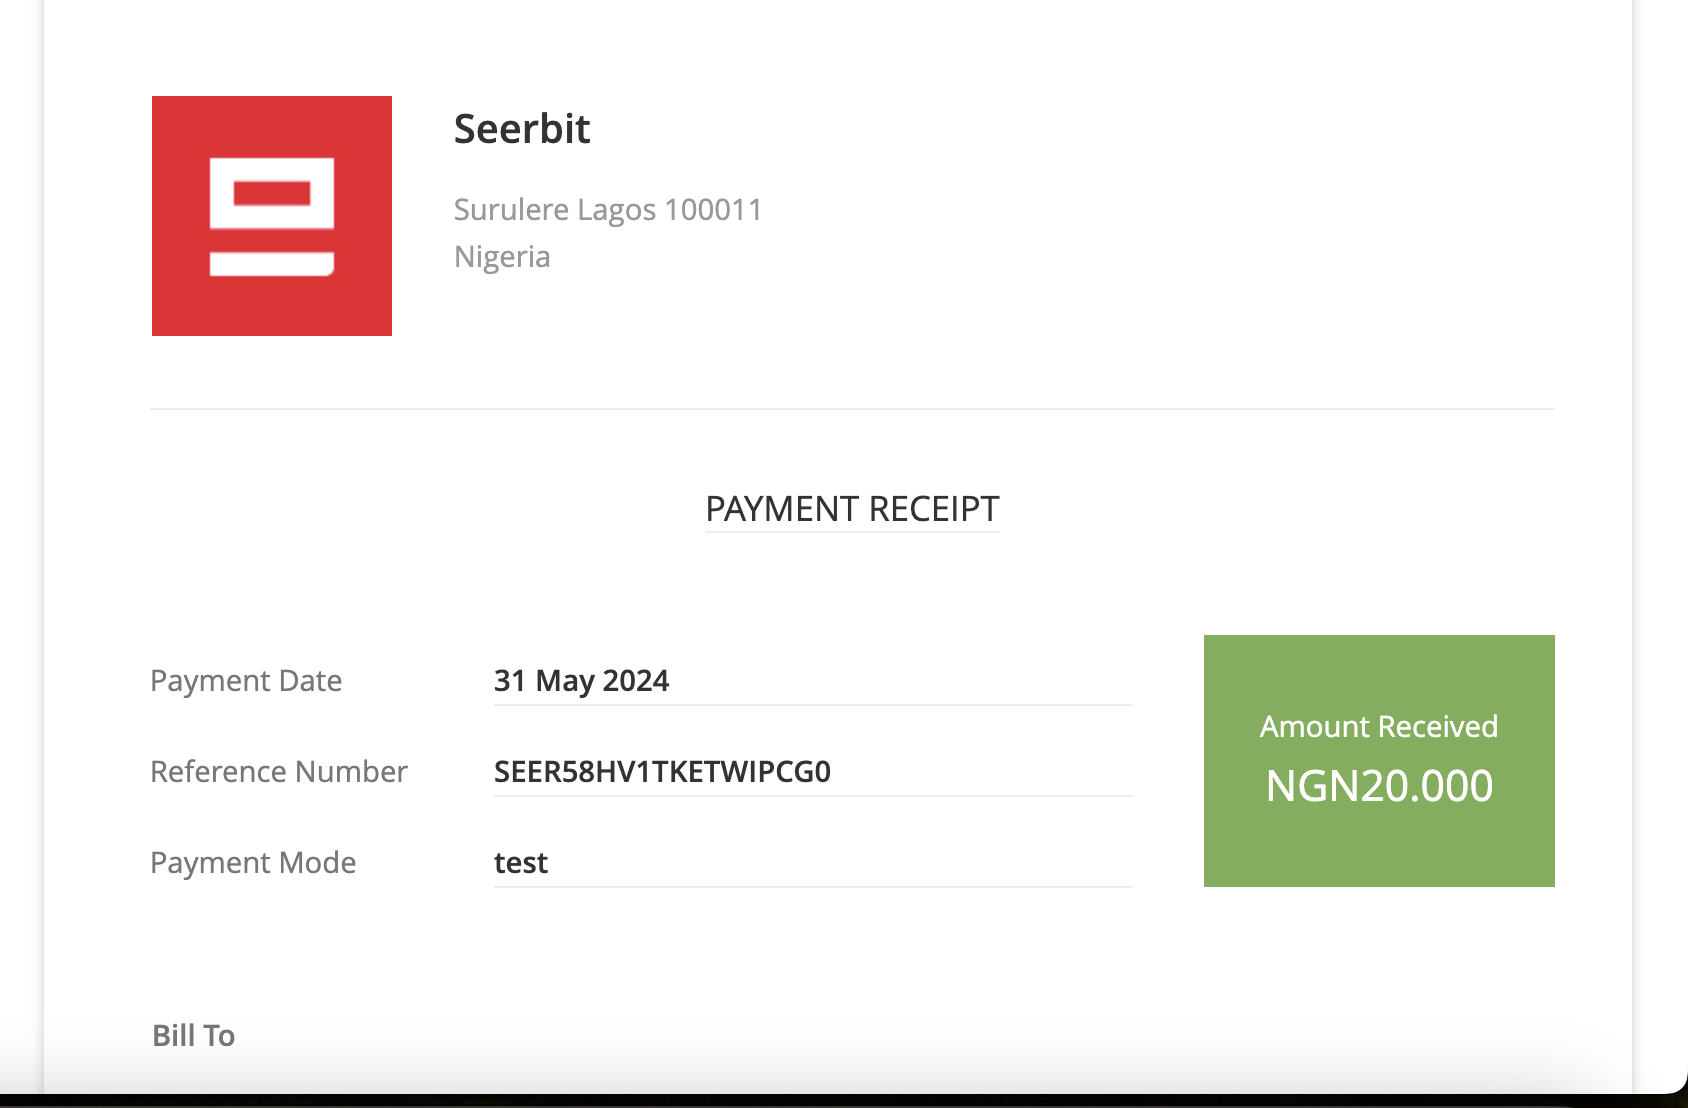
- When the invoice is sent, the customer will have the option to pay using SeerBit.
- Once the payment is completed, the invoice status will be automatically updated and marked as paid in your Zoho Books dashboard.
Managing Transactions
Viewing Transactions
- Navigate to the Payments Received section within Zoho Books.
- View all paid invoices processed via SeerBit Payment Gateway.
- Ensure that SeerBit is selected as a payment option at the bottom of the invoice form.
Refunds and Adjustments
- To process a refund, initiate a dispute on your SeerBit dashboard.
- Alternatively, you can send a ticket to support@seerbit.com with the necessary transaction details.
Trouble Shooting
Common Issues
- Connection Errors: Ensure that your internet connection is stable.
- Invalid Credentials: Double-check your API keys and login details.
- Payment Failures: Verify any restrictions or limits on your SeerBit dashboard.
Contact Support
- SeerBit Support: For unresolved issues, contact SeerBit support at support@seerbit.com.
- Zoho Books Support: For Zoho Books-related issues, reach out to Zoho Books support at support@zohobooks.com.
Support
For further assistance you can reach out to:
- SeerBit Support: support@seerbit.com
- Zoho Books Support: support@zohobooks.com
Zoho Integration Case Studies
This guide explores the benefits of integrating Zoho, and SeerBit Invoices and Checkout Solutions in streamlining your operations, boost efficiency, and ultimately, fuel your business success.
Case Study 1:
Simplified Invoicing and Faster Payments for Magaji & Co
Magaji & Co is a law firm that runs their operations across Africa.
Challenge
Magaji & Co's invoicing process was time-consuming and inefficient. They relied on manual invoicing and chasing clients for payments, leading to delays in cash flow.
Solution
Magaji & Co integrated Zoho Invoice with SeerBit. This allowed them to create professional invoices with online payment options directly integrated into the invoice.
Results
They experienced a 30% reduction in time spent on invoicing and a significant improvement in client payment times. They can now get paid faster and focus on delivering exceptional design services.
Case Study 2:
Secure Checkout and Increased Sales for CarFix
CarFix is a mobile car repair shop offering in-store and online repair services.
Challenge
Carfix previously relied on cash payments only, limiting their customer base and online sales potential. They wanted to offer a secure and convenient way for customers to pay for repairs.
Solution
CarFix integrated Seerbit with their Zoho Checkout. This allowed them to accept secure online payments via SeerBit.
Results
CarFix saw a 20% increase in online repair sales and a more streamlined checkout process for in-store customers. They can now cater to a wider customer base and improve their overall sales volume.
Key Benefits
Integrating Zoho with SeerBit's Invoicing and Checkout Solutions have immense benefits to revolutionalizing businesses and some of these are discussed below
- Pan African: Receive payments seamlessly from your customers across Africa (Ghana, Nigeria, Kenya, Senegal, Uganda, Tanzania, Cote D'Ivoire, Burkina Faso etc)
- Improved Payment Efficiency: SeerBit Payments provides diverse payment options within invoices eliminate the need for chasing payments and manual collections.
- Payment FailuresEnhanced Customer Experience: SeerBit provides secure and convenient payment options at checkout and for invoices lead to increased customer satisfaction.: Check for any restrictions or limits on your SeerBit dashboard
- Increased Sales Potential: Accepting online payments via SeerBit opens your business to a wider customer base.
- Streamlined Business Operations: Integrating Zoho with SeerBit saves time and reduces manual work involved in invoicing and checkout.
Overview
This guide provides users with detailed instructions on how to use SeerBit when creating and managing payment pages on Zoho Checkout. By integrating Seerbit, customers can securely make payments for your products or services via custom payment pages.
Creating a Payment Page
To get started with accepting payments using Zoho Checkout and SeerBit, follow these steps:
Steps
- Log in to Zoho Checkout: Visit Zoho Checkout and log in using your admin credentials.
- Create New Payment Page: From your dashboard, click on Create Payment Page.
- Set Page Details:
- Page Name: Enter a descriptive name for your payment page.
- Amount: Set a fixed or variable payment amount.
- Currency: Choose the currency for the payment page (make sure it’s supported by SeerBit).
- Choose SeerBit: In the payment options section, select SeerBit as the payment method for this page.
- Save and Publish: Once all details are set, click Publish to make the payment page live.
Customizing Your Payment Page
Zoho Checkout allows you to customize the look and feel of your payment page to match your brand.
Customization Options
- Logo: Upload your business logo to personalize the payment page.
- Themes: Choose from various pre-built themes or customize fonts, colors, and buttons.
- Customer Information: Decide which customer details (e.g., name, email, phone number) you want to collect at checkout.
- Add Payment Description: You can add a brief description of the service or product customers are paying for.
Accepting Payments
After you’ve created your payment page, customers will now be able to make payments through SeerBit.
Steps for Customers:
- Access Payment Page: Customers will be directed to your Zoho Checkout payment page via a shared link (email, website, etc.).
- Fill in Payment Details: Customers will enter the required details (e.g., name, email) and then select the payment method.
- Enter Payment Information: Customers can enter their debit/credit card details, select a mobile wallet, or other supported methods by SeerBit.
- Complete Payment: Once payment is processed, the customer will receive a confirmation of their transaction.
Managing Transactions
You can easily manage and track all transactions processed via SeerBit from your Zoho Checkout dashboard.
Steps:
- Go to Payments Section: From your Zoho Checkout dashboard, navigate to the Payments tab.
- View Transactions: Here you’ll see a list of all transactions processed through SeerBit. You can view details such as transaction ID, amount, payment status, and customer details.
- Filter Transactions: You can filter payments by date, payment status, or gateway to get more specific insights.
Issuing Refunds
If a customer requests a refund, you can issue it through Zoho Checkout directly, which will trigger a refund request to SeerBit
Steps to Issue a Refund:
- Select the Transaction: Go to the Payments section and find the transaction you wish to refund.
- Click on Refund: Inside the transaction details, click on the Refund button.
- Enter Refund Amount: Enter the amount to be refunded (partial or full) and confirm the refund.
- Confirmation: The customer will be notified once the refund is processed. The refund process may take a few business days depending on the payment method.
Payment Failure and Troubleshooting
If a payment fails during checkout, it could be due to several reasons:
Common Reasons for Payment Failures:
- Insufficient funds in the customer’s account.
- Incorrect card details entered by the customer.
- Expired card used for the transaction.
Steps for Troubleshooting:
- Retry the Payment: Ask the customer to retry with correct or updated card details.
- Check Payment Status: From the Payments section, you can check the payment status (failed or pending) to understand the issue.
- Contact SeerBit Support: If the issue persists, reach out to support@seerbit.com for assistance.
FAQs
Q1: How do I know if a payment was successful?
- You will receive an email confirmation from Zoho Checkout and can also check the transaction status in the Payments section of your dashboard.
Q2: What happens if a customer abandons the payment page?
- If the customer exits before completing the payment, the transaction will be marked as Abandoned. You can reach out to the customer to prompt them to complete the payment.
Q3: How long does it take for refunds to process?
- Refunds typically take 3-7 business days, depending on the customer’s bank and the payment method used.
Q4: Can I customize the success message on the payment page?
- Yes, you can customize the confirmation message that customers see after successfully completing their payment.
Conclusion
This user guide provides a comprehensive overview of how to use SeerBit with Zoho Checkout to process payments, issue refunds, and manage transactions efficiently. By following the steps outlined here, your customers can enjoy a seamless payment experience on your payment pages.
Introduction
This guide is intended for admins who are responsible for managing and overseeing the integration between SeerBit Payment Gateway and Zoho Checkout. It covers administrative tasks such as managing API credentials, transaction monitoring, user roles, and troubleshooting common issues.
Setting Up the Integration
As an admin, you’re responsible for setting up and configuring SeerBit with Zoho Checkout.
Steps:
- Log in to Zoho Checkout: Visit Zoho Checkout and log in using your admin account.
- Navigate to Payment Gateways: Online Payments > Payment Gateways.
- Add SeerBit: Select Add Gateway, find SeerBit , and click Add.
- Enter API Credentials: Input the required Public Key and Secret Key from your SeerBit account.
- Save Configuration: Ensure all settings are saved, andSeerBit is toggled On to enable it for customer transactions.
Managing API Credentials
API credentials are essential for communication between Zoho Checkout and SeerBit
Steps to Manage API Credentials:
- Access API Credentials: You can find the API keys in your SeerBit dashboard under API Settings.
- Update API Credentials:
- If you need to update your API Keys, navigate to Settings > Payment Gateways > ABC Payment Gateway in Zoho Checkout.
- Enter the updated credentials and click Save.
- Test Connectivity: After updating credentials, it’s important to test the integration by initiating a test transaction.
Configuring Webhooks
Webhooks provide real-time updates on payment statuses and can be configured to alert your system for successful or failed transactions.
Steps to Configure Webhooks:
- Access Webhook Settings: Go to Settings > Webhooks in your Seerbit dashboard
- Create Webhook URL: Enter the Webhook URL provided by your system that will receive the payment updates.
- Test Webhook: Test the webhook by processing a test transaction to ensure that your system is receiving the correct data.
Monitoring Transactions
Admins can monitor all payment transactions processed through SeerBit
Steps:
- Navigate to the Payments Section: From the Zoho Checkout dashboard, click on Payments.
- View Transaction History: You will see a list of all transactions, including details such as:
- Transaction ID
- Customer name
- Payment status (successful, pending, or failed)
- Amount processed
- Download Reports: You can download transaction reports for a specific time frame for analysis.
Handling Failed Payments
Admins are responsible for investigating failed payments to resolve issues promptly.
Steps:
- Identify the Reason for Failure: Click on the failed transaction and review the error message. Common reasons include:
- Invalid card details
- Insufficient funds
- Retry Payment: You can contact the customer to retry the payment, ensuring they have the correct card details or sufficient funds.
- Escalate Issues: If the payment failure is due to gateway issues, contact ABC Payment Gateway support for resolution.
Managing Refunds
Admins can process refunds for transactions made through SeerBit. Refunds may be full or partial, depending on the request.
Steps to Process Refunds:
- Access Transaction History: Go to Payments and locate the transaction you want to refund.
- Initiate Refund: Open the transaction and click on Refund. Enter the amount (full or partial) and click Confirm.
- Monitor Refund Status: The refund status can be tracked in the Payments section. Ensure the customer receives a confirmation email about the refund.
Managing User Roles and Permissions
Admins have control over which team members can access different sections of Zoho Checkout, including sensitive areas like payment and refund management.
Steps:
- Navigate to Users: Go to Settings > Users & Roles.
- Assign Roles: Assign specific roles (e.g., Admin, Manager, Viewer) with varying levels of permissions.
- Set Permissions: For each role, define what actions they can take, such as managing payment pages, issuing refunds, or viewing transaction details.
Security Best Practices
Maintaining security is crucial for handling customer payments.
Best Practices:
- Enable Two-Factor Authentication (2FA): Ensure all admin accounts have 2FA enabled to prevent unauthorized access.
- Monitor API Usage: Regularly review your API activity on your SeerBit dashboard to ensure no suspicious activity is happening.
- Rotate API Credentials: Periodically rotate your API keys and secret keys, especially if there’s any indication of compromise.
- Restrict User Access: Only provide access to payment processing features to team members who require it.
Troubleshooting
In the event of issues with the SeerBit integration, follow these steps for troubleshooting:
Common Issues and Solutions:
- Failed API Authentication: If the gateway is failing to process payments, check that the API credentials are correctly entered and not expired.
- Gateway Downtime: Verify if SeerBit is experiencing downtime by visiting their status page or contacting their support.
- Webhook Not Firing: Ensure that the Webhook URL is correctly configured and your server is listening for updates.
- Restrict User Access: Only provide access to payment processing features to team members who require it.
Contact Support
- SeerBit Support: support@seerbit.com
- Zoho Checkout Support: support@zoho.com
- Additional Resources: Access guides, tutorials, and more in the Help section of Zoho Inventory.
FAQs
Q1: How often should I update API credentials?
- It is recommended to update API credentials at least once every 6-12 months for security purposes, or immediately if there’s any sign of compromise.
Conclusion
- This admin guide provides comprehensive instructions for setting up, managing, and troubleshooting the integration between SeeBrit and Zoho Checkout. By following these steps, admins can ensure smooth and secure payment operations for their customers.
Overview
This help document will guide you through the integration of the SeerBit Payment Gateway with Zoho Checkout, enabling seamless payment processing on your Zoho Checkout store. Follow these steps to ensure smooth integration and troubleshoot common issues.
Common Setup and Configuration Issues
Issue: API credentials are not being accepted
- Solution: Double-check that you have entered the correct Public Key and Secret Key from your SeerBit dashboard. Ensure there are no extra spaces, and the credentials are up to date.
Handling Transaction Errors
Issue: Payment status shows as 'Failed' or 'Pending'
- Solution: Payments may fail or remain in pending status due to insufficient funds, incorrect payment details, or gateway downtime. Check the specific error message in the Payments section of Zoho Checkout. If the issue is not clear, contact support@seerbit.com
Issue: Customers report payment page timing out
- Solution: Timeout issues may arise due to network connectivity problems. Advise the customer to try the payment again, preferably with a stable internet connection. If the issue persists, contact Zoho Checkout support to investigate further.
Processing Refunds
Issue: Refund not processed successfully
- Solution: First, ensure that the refund was initiated correctly. You can check the refund status in the Payments section of Zoho Checkout. If the refund shows as failed or pending, contact support@seerbit.com for clarification.
Issue: Customer hasn't received the refund after several days
- Solution: Refunds may take 3-7 business days to reflect in the customer’s account, depending on the payment method. If the customer hasn't received the refund after this period, verify the status in Zoho Checkout.
Webhook Setup and Issues
Issue: Webhook is not triggering
- Solution: Ensure the correct Webhook URL is configured in your SeerBit dashboard under Settings > Webhooks. Test the webhook setup by processing a test transaction. Make sure that your server is online and ready to receive webhook events.
Issue: Webhook events contain missing or incorrect data
- Solution: Verify the data your system is receiving. It’s possible that custom fields in the payment page configuration might not be properly mapped. You may need to adjust the fields that your webhook is listening for.
API Authentication Problems
Issue: Authentication failure for API requests
- Solution: This error occurs when the Public Key or Secret Key is incorrect or expired. Regenerate the API credentials from your SeerBit dashboard and update them in Zoho Checkout under Payment Gateways.
Issue: API requests are being blocked or timed out
- Solution: Ensure there are no firewall or security restrictions preventing communication between Zoho Checkout and SeerBit. You may also want to review your server logs to identify any network issues.
Troubleshooting Payment Failures
Issue: Customer's payment is repeatedly failing
- Solution: Payment failures may result from insufficient funds, card expiration, or incorrect details entered by the customer. Advise the customer to verify their card details and retry.
Issue: Multiple payments from the same customer are being flagged as suspicious
- Solution: SeerBit has built-in fraud prevention mechanisms that may flag unusual activity. Review the flagged transaction details in your SeerBit dashboard and contact compliance@seerbit.com if necessary.
Best Practices for Managing Transactions
- Monitor Transactions Regularly: Use the Payments dashboard in Zoho Checkout to regularly check transaction statuses and quickly address any failed payments.
- Use Webhooks for Real-Time Alerts: Configure webhooks to receive real-time alerts for successful and failed payments, ensuring you can address issues promptly.
- Test the Integration: Before launching your payment pages, test the integration by processing a series of small transactions to ensure everything is working as expected.
- Enable Two-Factor Authentication: Protect your admin account and sensitive payment details by enabling two-factor authentication (2FA) for your Zoho Checkout and Seerbit account
Support
- SeerBit Support: support@seerbit.com
- Zoho Checkout Support: support@zoho.com
Zoho Integration Case Studies
This guide explores the benefits of integrating Zoho, and SeerBit Invoices and Checkout Solutions in streamlining your operations, boost efficiency, and ultimately, fuel your business success.
Case Study 1:
Simplified Invoicing and Faster Payments for Magaji & Co
Magaji & Co is a law firm that runs their operations across Africa.
Challenge
Magaji & Co's invoicing process was time-consuming and inefficient. They relied on manual invoicing and chasing clients for payments, leading to delays in cash flow.
Solution
Magaji & Co integrated Zoho Invoice with SeerBit. This allowed them to create professional invoices with online payment options directly integrated into the invoice.
Results
They experienced a 30% reduction in time spent on invoicing and a significant improvement in client payment times. They can now get paid faster and focus on delivering exceptional design services.
Case Study 2:
Secure Checkout and Increased Sales for CarFix
CarFix is a mobile car repair shop offering in-store and online repair services.
Challenge
Carfix previously relied on cash payments only, limiting their customer base and online sales potential. They wanted to offer a secure and convenient way for customers to pay for repairs.
Solution
CarFix integrated Seerbit with their Zoho Checkout. This allowed them to accept secure online payments via SeerBit.
Results
CarFix saw a 20% increase in online repair sales and a more streamlined checkout process for in-store customers. They can now cater to a wider customer base and improve their overall sales volume.
Key Benefits
Integrating Zoho with SeerBit's Invoicing and Checkout Solutions have immense benefits to revolutionalizing businesses and some of these are discussed below
- Pan African: Receive payments seamlessly from your customers across Africa (Ghana, Nigeria, Kenya, Senegal, Uganda, Tanzania, Cote D'Ivoire, Burkina Faso etc)
- Improved Payment Efficiency: SeerBit Payments provides diverse payment options within invoices eliminate the need for chasing payments and manual collections.
- Payment FailuresEnhanced Customer Experience: SeerBit provides secure and convenient payment options at checkout and for invoices lead to increased customer satisfaction.: Check for any restrictions or limits on your SeerBit dashboard
- Increased Sales Potential: Accepting online payments via SeerBit opens your business to a wider customer base.
- Streamlined Business Operations: Integrating Zoho with SeerBit saves time and reduces manual work involved in invoicing and checkout.


